Planning a wedding feels like you’re supposed to know what you’re doing. But the truth is nobody really knows what they’re doing until they’ve done it once.
The main problem isn’t that wedding planning is complicated, it’s that there’s so much to do and so much going on. And you’re left struggling to know which bits to tackle first, when vendors need to be booked or how far in advance invitations go out. You’re trying to coordinate the biggest party of your life while also maintaining your job, relationship and sanity. It’s asking a lot!
When I planned my own wedding I made plenty of mistakes — booking some vendors too late, stressing about details too early and generally not having a clear timeline to follow. But that last one is something I could have done something about. And it would have helped. When you know what’s supposed to happen you can relax about the things that aren’t urgent yet.
So this 12 month wedding planning checklist will help make things easier. It breaks down exactly what needs to happen at each stage. Starting at the moment you get engaged through to your wedding day.
It’s organized by time periods so you know what to focus on now versus what can wait, which vendors to book first and when all those random tasks like ordering invitations or scheduling dress fittings need to happen.
Think of it as a wedding planning roadmap. You can choose to follow it exactly or change it up based on your timeline. But either way you’ll know you’re not forgetting something really important.
How to Use This Checklist
This checklist works best when you use it as a working document rather than just reading through once. Print it out and keep it somewhere visible, or save it digitally where you can check things off as you go.
Share it with your partner so you’re both on the same page about what needs to happen and when. This will stop any “I thought you were handling that” conversations later.
You can also save this to Pinterest for easy reference when you’re in the middle of planning and need to remember what month you’re supposed to mail the invitations. Adjust the timeline if you’re planning in less than 12 months or more than 12 months, just shift everything accordingly.
12 Months Before
- Set a budget: This is the least fun but most important first step. Sit down with your partner and whoever’s helping out financially and figure out the total number you’re working with. I know it can be a bit awkward but it has to be done.
Be realistic about what you can actually afford not what you wish you could spend. According to The Knot, the average wedding costs around $30,000, but that varies a lot depending on the location and size.
The best way to look at yours is by breaking down your budget into categories – the venue takes about 30%, catering about 30%, photography about 10% and so on. Having these numbers clear from the start should stop you from falling in love with a venue you can’t afford or overspending early and having nothing left for the bar.
- Make your guest list (draft): Start with a rough draft of everyone you’d invite if money wasn’t an issue, then start cutting. Its going to be hard but it’s necessary.
Your guest count will have a big impact on your budget since you’re paying per person for food, drinks and seating. Most couples end up cutting 20 to 30% from their initial list. Create an A-list (must invite) and B-list (invite if budget allows) to help make the decisions easier.
- Choose wedding style/theme ideas: Start thinking about the overall feel you want. Is it going to be formal or casual, traditional or modern, indoor or outdoor, rustic or elegant etc.
You don’t need every detail figured out but having a general direction helps when you start looking at venues and talking to vendors. This doesn’t have to be a theme like “enchanted forest” — it can just be “relaxed outdoor celebration” or “classic ballroom wedding.”
- Start a Pinterest inspiration board: Create a private Pinterest board and start saving images of weddings, dresses, flowers and decor you like. This becomes incredibly useful when talking to vendors because you can show them exactly what you mean instead of trying to describe it. I used my Pinterest board all the time when I was planning to show photographers my style preferences and florists the color palette I wanted.
- Decide on a date or date range: Pick either a specific date (if you’re set on getting married on your anniversary or a meaningful date) or a season/range of months. Having at least a season in mind is going to very important before booking venues since availability varies. Keep in mind that Saturdays in peak season (May-October) book up fastest and cost more.
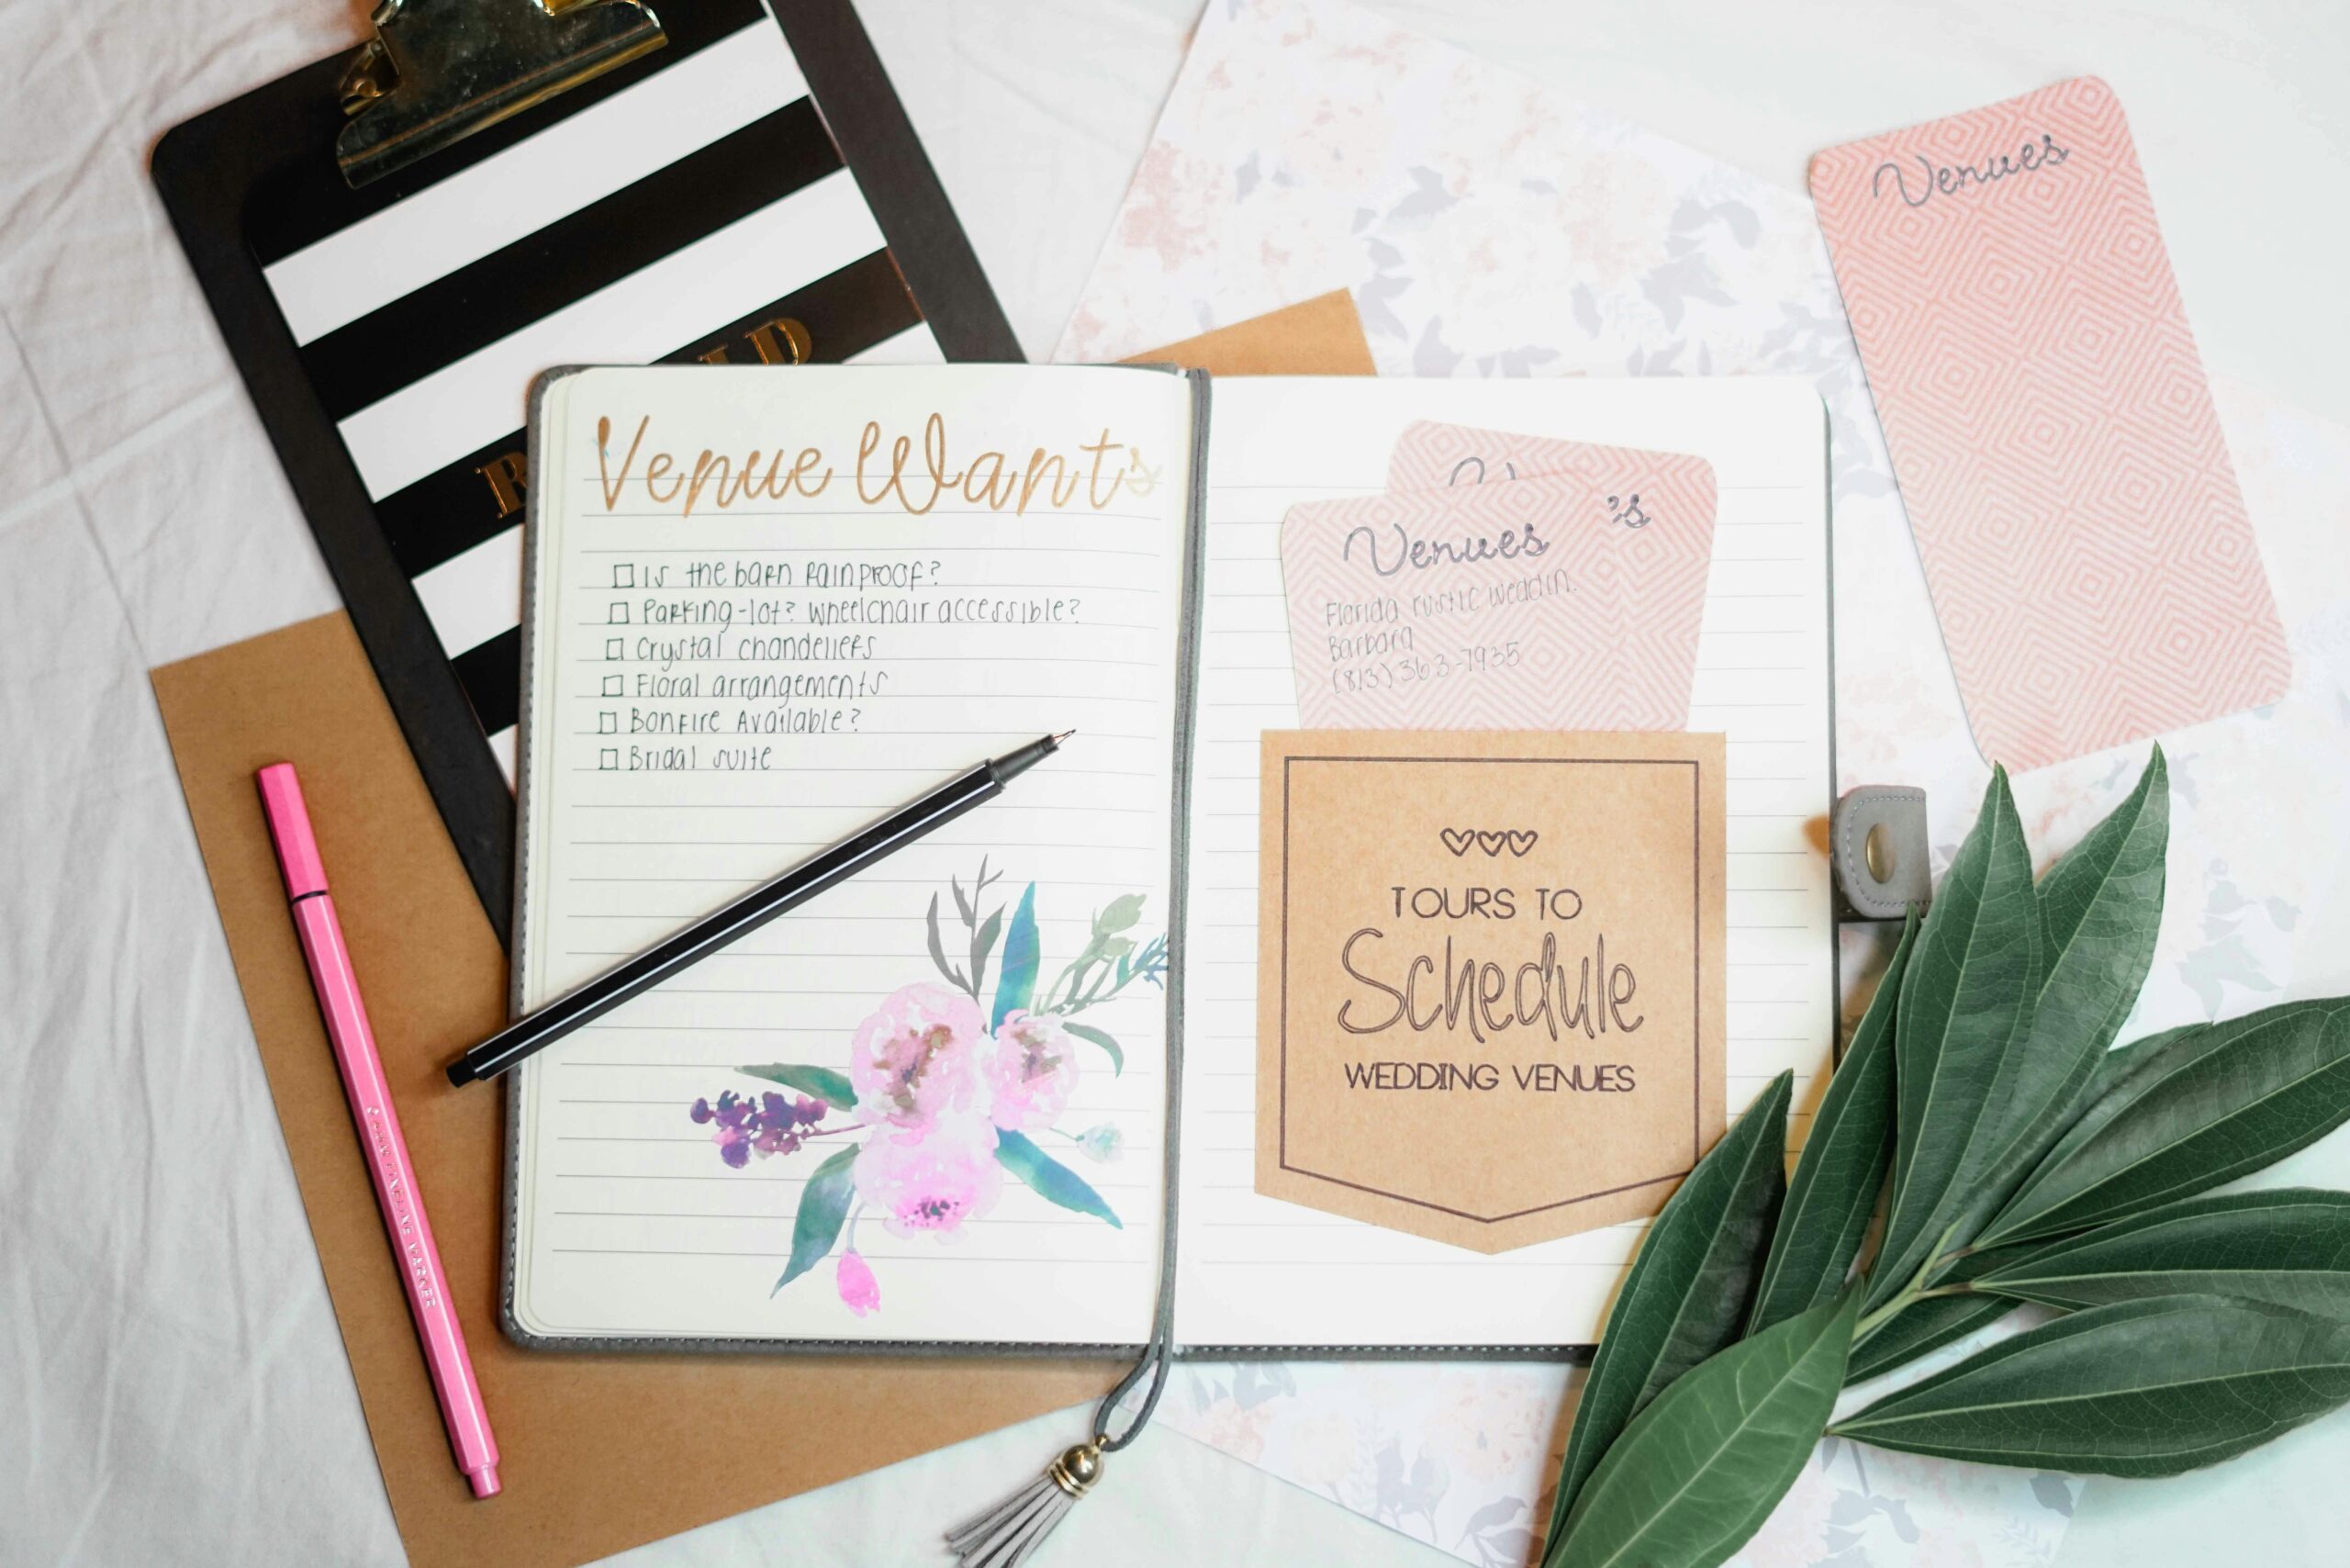
- Begin researching venues: Start looking at venue options online, reading reviews and visiting in person if possible. The venue is usually the first thing you’ll book as the availability will decide your date.
Look at 5 to 10 venues to get a sense of what’s out there, what they cost, what’s included etc. Some venues will give you tables, chairs and coordination while others are blank slates where you bring in everything.
- Hire a wedding planner (if using one): If your budget allows for a planner or day of coordinator then hire them now. They can help with everything else on this list quite often have connections with vendors that can save you some money.
If a full planner isn’t in your budget then you could look at a day of coordinator who handles the logistics on the actual wedding day so you can enjoy it instead of managing vendors.
9-11 Months Before
- Book your venue: Once you’ve found the venue you love and confirmed its available on your preferred date – book it. This will usually need a deposit. The venue locks in your date and then plays a big role in lots of the other decisions like catering options (some venues require you use their caterer), capacity and the overall style. Don’t wait too long on this as the popular venues get booked 12 to 18 months out.
- Book photographer: Good wedding photographers book up fast too, often 12+ months in advance. So once you have your date secured start contacting photographers whose style you love. Look at full wedding galleries, not just highlight reels, to see their consistent work. Photography is one area where it’s worth spending more since these are the images you’ll have forever.
- Book videographer: If you want video then it’s a good idea to book your videographer around the same time as your photographer. Some photography companies offer both services so look onto that. Video captures moments photos can’t – your vows, toasts, your first dance song etc. Prices will differ quite a lot based on the hours of coverage and editing style.
- Choose wedding party: Ask your close friends and family to be in your wedding party. Be thoughtful about this – choose people who will properly help and support you, not just people you feel obligated to include. Smaller wedding parties are totally fine and often less stressful to coordinate.
- Start shopping for wedding dress: Begin making appointments at bridal salons. Wedding dresses usually take 6 to 8 months to come in after ordering so starting now gives you time to shop without pressure. Bring one or two trusted people whose opinions you value. If you have too many voices makes it will make it harder to make a final decision. I went with just my mom and found my dress on the third appointment (not trying to sound smug!).
- Reserve accommodations for guests: If you have guests coming from out of town or another country the reserve hotel room blocks at 2 to 3 hotels near your venue at different price points. This doesn’t cost you anything and gives guests a discount. Hotels will usual h hold the block until 30 days before your wedding, then release unbooked rooms.
- Look at caterers and menu options: If your venue doesn’t include catering then start researching caterers and doing tastings. Food is a huge part of your budget (often around 25 – 30% of the total costs), so take your time with this. Think about your guest count, any dietary restrictions and what style of service you want — plated dinner, buffet, family style etc.
6-8 Months Before
- Order wedding dress: Once you’ve found THE dress, order it. Don’t mess about, just get it done. Remember it takes 6 to 8 months to arrive and then you’ll need alterations. Order sooner if you’re getting married in under a year. Don’t wait thinking you’ll lose weight or find something better — you’ll lose it or something else will happen and then you’ll regret having waited..
- Choose bridesmaid dresses: Pick dresses or a color/style guideline for bridesmaids. You can choose one specific dress for everyone or give them a color and let them pick styles that suit their bodies. Bridesmaid dresses also take months to arrive so again – order now.
But make sure your bridesmaids can afford what you’re asking them to buy. They’ll feel like they have to and be embarrassed to say anything if they can’t.
- Hire florist: Book your florist and start discussing flower types, colors and arrangements. Bring your Pinterest board to show them your vision. Decide on bouquets, boutonnieres, centerpieces, ceremony arrangements and any other floral needs. Flowers can be really expensive – mine ended up being more than I expected because I didn’t realize how quickly centerpieces add up when you have 20 tables.
- Hire DJ or band: Book your ceremony and reception music. Meet with potential DJs or bands, listen to samples and make sure their style matches your vision. A good DJ does more than play music – they MC the event, keep energy up and manage the timings. Make sure you talk about your must play and do not play songs.
- Book officiant: It doesn’t matter if you’re having a religious ceremony or hiring a secular officiant, book them now. Meet with them to discuss the structure of the ceremony, readings, vows and any requirements they have. Some officiants are very hands on and help you write personal ceremonies whereas others will stick to traditional scripts.
- Choose cake designer: Start tasting cakes (yes, this is as fun as it sounds) and choose your baker. Discuss flavors, design, size based on guest count and any dietary needs like gluten free options. Cake tastings were one of my favorite parts of planning, for obvious reasons! But you don’t have to go with a cake. Some couples skip traditional cake for dessert bars or other options.
- Finalize color palette: Decide on your wedding colors so you can make consistent decisions about dresses, flowers, linens and decor. You don’t need ten colors — usually 2 to 3 main colors plus neutrals work best. Share this with all vendors so everyone’s on the same page.
- Create your wedding registry: Set up registries at 2 to 3 stores with different price points so guests have options. Register for things you need and will use. Practical items are great and guests appreciate clear guidance. Include your registry website on your wedding website, not on invitations (that’s considered tacky).
4-5 Months Before
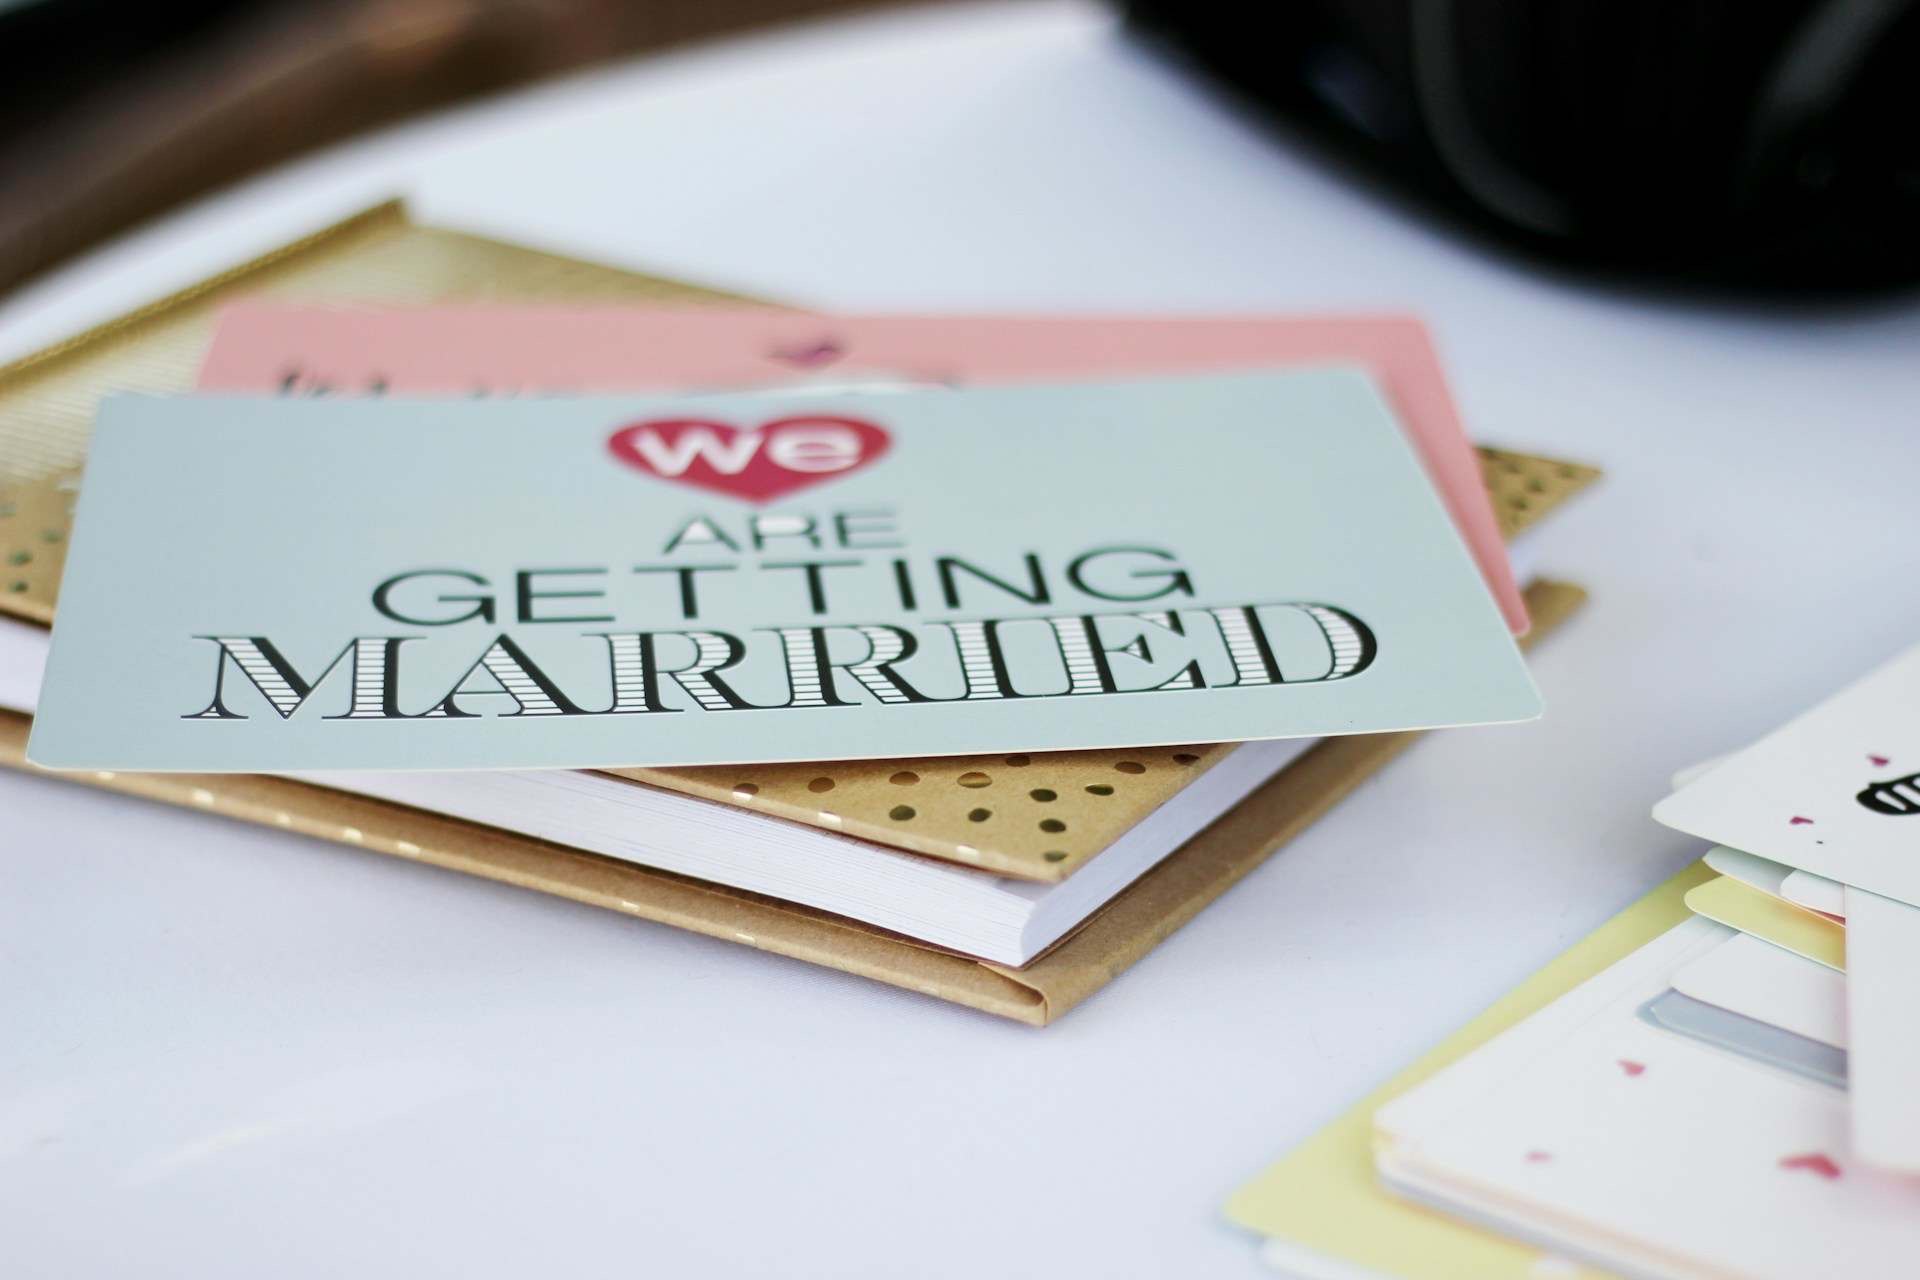
- Send save-the-dates: Mail save-the-dates so guests can mark calendars and book travel if needed. These should include your names, wedding date, and location (city/venue). Send these 4 to 6 months before the wedding, or 8 to 10 months for destination weddings. Include your wedding website URL if you have one.
- Plan the honeymoon: Start researching and booking your honeymoon. If you’re traveling internationally check your passport expiration dates and any visa requirements. Book flights and accommodations – waiting until after the wedding means everything gets more expensive. Some couples delay their honeymoon if planning during busy wedding season is too much, which is totally fine.
- Order invitations: Choose your invitation design and place your order. Invitations take 4 to 8 weeks to arrive depending on the printing method. You’ll mail them 6 to 8 weeks before the wedding so ordering them now gives you a bit of a buffer. Remember to order extras for keepsakes and mistakes — I definitely addressed some wrong and needed backups.
- Arrange transport: Book transportation for the wedding day – limos, party buses, vintage cars or whatever you want for getting the wedding party to venues and photos. If you have a gap between the ceremony and the reception at different locations then think about guest transportation too. We rented a party bus for the wedding party and it made the day so much easier.
- Schedule makeup/hair trials: Book your hair and makeup artists and schedule some trial runs. This lets you test out looks before the wedding day and make any changes you need to. Bring inspiration photos and your veil or headpiece to the trial. Arrange these for 2 to 3 months before so it’s recent enough to remember but early enough to change if you have to.
- Finalize décor ideas: Make final decisions on centerpieces, table settings, lighting, signage and other decor elements. Order or DIY anything you’re making yourself. If you’re renting items like linens, candles, or specialty decor then book those rentals now. Start a timeline for setting up any DIY projects so you’re not trying to make anything the night before the wedding.
2-3 Months Before
- Mail invitations: Send invitations 6-8 weeks before your wedding date. Include RSVP cards with a deadline 3 to 4 weeks before the wedding (giving you time to finalize numbers). Make sure all invitation pieces are correct too. I caught a typo on our RSVP cards literally as I was about to mail them. Double check addresses and buy enough stamps.
- Choose ceremony readings: Select poems, passages or readings for your ceremony. Ask specific people to do readings if you want – it’s an honor for guests who aren’t in the wedding party. Make sure readings aren’t too long though; ceremonies should be 20 to 30 minutes max or guests will start to get restless.
- Write vows (or start drafting): If you’re writing personal vows then start now. Don’t wait until the week before or you’ll be too stressed. Write a draft, let it sit, think on it, then revise what you’ve done. Try to make them about 1 to 2 minutes when read aloud (that should be aroubs 200-300 words). Decide if you’re sharing vows with each other beforehand or keeping them secret until the ceremony.
- Confirm timeline with vendors: Touch base with all vendors to confirm timing, arrival, setup and any special requests. Create a master timeline for the wedding day and share it with everyone – the photographer, DJ, caterer, venue coordinator, wedding party. This makes sure everyone knows when cocktail hour starts, when toasts happen, when cake cutting is scheduled etc.
- Get alterations for dress: Start dress alterations now. You’ll typically need 2 to 3 fittings over 4-6 weeks. Bring your actual wedding shoes to fittings so the hem is correct. Try not to lose or gain a significant amount of weight between the final fitting and the wedding day (I know, that’s not always so easy). It’s just that the alterations are fitted to your current size.
- Buy wedding accessories: Purchase shoes, jewelry, undergarments, garter if you’re doing one, clutch for the day and any other accessories you need. Break in your shoes before the wedding. Try wearing them around the house so they’re comfortable. I didn’t break mine in enough and my feet hurt by the reception.
1 Month Before
- Final dress fitting: Have your last dress fitting and bring everything you’ll wear that day — shoes, undergarments, jewelry etc. – so you can see the complete look. Make sure you can move, sit, dance and use the bathroom in your dress. Learn how to bustle it or ask someone to do it after the ceremony.
- Create seating plan: Once you have final RSVPs create your seating chart. This is tedious but important. Think about how you’re going to group your guests — people who know each other, similar ages or interests when possible. Leave problem guests off each other’s tables. We used a seating chart app which made rearranging easier than physical cards.
- Confirm guest RSVPs: Track down anyone who hasn’t RSVP’d — there will definitely be people who forget. You need the final numbers for catering, rentals and seating. Call or text stragglers directly. Some people are weirdly bad at responding to invitations even when they’re definitely coming.
- Make final payments: Pay final balances to vendors per your contracts. Most require payment before or on the wedding day. Keep track of what’s been paid and what’s still owed. Get someone (best man, family member, or day-of coordinator) to handle any on the day- payments like tips for vendors.
- Prepare wedding day emergency kit: Pack a kit with safety pins, stain remover, band aids, pain reliever, breath mints, tissues, bobby pins, clear nail polish (for stocking runs), deodorant, tampons and anything else you might need. You won’t use most of it but having it brings peace of mind. And then have someone bring this kit on the wedding day.
- Final walk through with venue: Visit your venue for a final walk through. Confirm setup, timing, any restrictions, where vendors load in, where getting ready spaces are and bathroom locations. This is your last chance to address any concerns or make small changes before the day.
1 Week Before
- Final count to caterer: Give your caterer the final guest count. This is usually due 7 to 10 days before and is the number you’ll pay for even if fewer people show up. It’s common to add 2-3 extra meals as a buffer for unexpected guests or vendor meals.
- Pack for honeymoon: Pack your honeymoon bags so you’re not scrambling after the wedding. Have them ready at your house or wherever you’re going after the reception. Include any medications, chargers and important documents. Remember sunscreen if you’re going somewhere tropical – I forgot and ended up have to buy overpriced resort sunscreen.
- Print timelines and lists: Print copies of your wedding day timeline, vendor contact list, emergency numbers and seating chart. Give copies to your wedding party, parents and day of coordinator. Put everything in a binder or folder so it’s organized well. This binder saved us multiple times when questions came up.
- Reconfirm all vendors: Call or email every vendor to confirm they have the correct date, time, location and details. Make sure everyone has your day of contact person’s number (not yours – you shouldn’t be handling logistics on your wedding day). This might feel redundant but it’s worth it for the peace of mind.
Day Before
- Rehearsal and rehearsal dinner: Have your ceremony rehearsal so everyone knows where to stand, when to walk and the general flow of it. Keep it simple – you’re not performing Shakespeare, just walking and standing. The rehearsal dinner afterward is for thanking your wedding party and close family. Keep it low key so you’re not exhausted for the actual wedding.
- Lay out outfits: Lay out everything you’ll wear tomorrow – the dress, shoes, jewelry, undergarments, accessories – so you’re not searching for things in the morning. Have your partner do the same. Put rings in a safe, obvious spot. Charge your phone overnight.
- Charge phones/cameras: Charge all phones, cameras and any electronics. Assign someone to bring chargers to the getting ready location. You’ll want your phone for photos and communication until the ceremony starts. Make sure your photographer’s batteries are charged (they will, but reminders don’t hurt).
- Relax and get sleep: Easier said than done, but try to relax. Take a bath, watch a movie do something calming. Avoid alcohol! You don’t want to be hungover on your wedding day. Get to bed at a reasonable hour. You’ll be running on adrenaline tomorrow but starting rested helps. I barely slept from excitement but did try to rest.
Wedding Day
- Eat breakfast: Eat something substantial in the morning even if you’re nervous. You won’t have time to eat much during getting ready and you need energy. I had a bagel with cream cheese and fruit. Avoid anything that might upset your stomach or cause bloating. Drink water throughout the morning.
- Follow timeline: Stick to your timeline as much as possible. Your photographer and coordinator will keep you on track. Start getting ready when scheduled so you’re not rushed for photos. The day goes faster than you expect. Build in some time for delays as someone always takes longer with hair or makeup than expected.
- Enjoy it: This sounds obvious but try to be present and actually experience your day. Take mental snapshots of moments. Pause during the reception to look around at everyone celebrating you. The day flies by – everyone says this but it’s true. We tried to spend a few minutes together just the two of us during cocktail hour to take it all in before the reception craziness started. Don’t stress about little things that go wrong – they will and they won’t matter. What matters is you’re getting married.
Final Reminders and Last Minute Tips
Before we finish these are a few things that will save your sanity in those final weeks:
- Delegate day of tasks: You shouldn’t be handling vendor questions, setup decisions or guest problems on your wedding day. Ask/get a point person (wedding planner, coordinator or responsible family member/friend) to handle all the logistics. Give them the vendor contact list and timeline. Their job is to solve problems without bothering you.
- Lower expectations for perfection: Something will go wrong. The flowers might be slightly different than you imagined. Dinner might run 15 minutes late. Someone will give a weird toast. None of it will matter. Your guests won’t notice most hiccups and you’ll barely remember them later. Let go of the need for everything to be perfect.
- Remember what it’s actually about: When you’re stressed about napkin colors or place card fonts remember you’re planning a celebration of your marriage, not producing a Broadway show. The goal is marrying your person and celebrating with people you love. Everything else is just decoration.
- Take time for just the two of you: Schedule 15 to 20 minutes alone together at some point during the wedding day. Whether it’s right after the ceremony, during cocktail hour or sneaking away during the reception take a moment to be together without performing for guests or posing for photos. These ended up being our favorite moments of the day.
- Print this checklist: Seriously, print this out or save it where you can reference it easily. Cross things off as you go. There’s something satisfying about checking boxes and it keeps you on track without having to remember everything. Share it with your partner so you’re both aware of what needs to happen when. You can also find printable wedding planning checklists online if you want something more formatted, but this gives you the essential timeline and tasks.
Wedding planning is really stressful because you’re coordinating a major event while also working, living your life etc. But having a clear timeline makes it manageable.
You know what to focus on now and what can wait. You’re not worried you’re forgetting something important because you have a roadmap.
And on your wedding day you can relax and enjoy it knowing you’ve handled everything that needed handling. That’s the goal here — getting you to that day ready, prepared and able to be present instead of stressed.